ALLPCB


Overview
The MR framework is a lightweight framework designed for embedded systems. It is tailored to the resource and performance constraints typical of embedded environments. By providing standardized device management interfaces, it simplifies embedded application development and helps developers build embedded applications more quickly.
Key Features
- Standardized device access interfaces
- Decoupling of application and driver development
- Simplified development of low-level drivers and applications
- Lightweight, low resource footprint
- Modular design with independently developed components, minimizing hardware migration cost
- Supports use in bare-metal and operating system environments
Main Components
- Device framework: provides standardized device access interfaces
- Memory management: dynamic memory management
- Utilities: common data structures such as linked lists, queues, balanced trees
- Various functional components
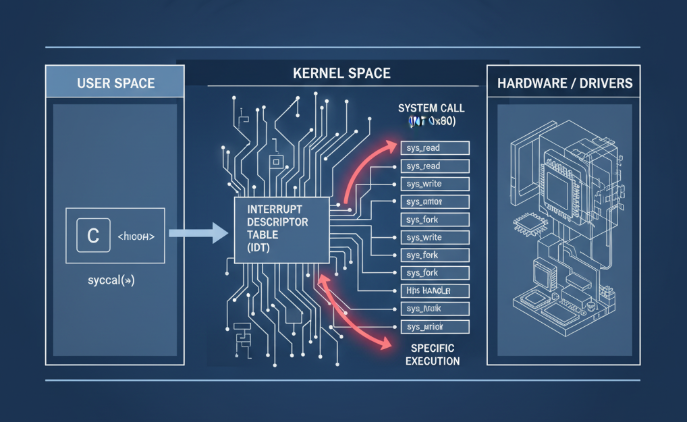
Standardized Device Interface
All device operations can be performed through the following interfaces:
| Interface | Description |
|---|---|
| mr_dev_register | Register device |
| mr_dev_open | Open device |
| mr_dev_close | Close device |
| mr_dev_ioctl | Control device |
| mr_dev_read | Read data from device |
| mr_dev_write | Write data to device |
Example
struct mr_spi_dev spi_dev;
int main(void)
{
    /* Register SPI10 device (CS active low) on spi1 bus */
    mr_spi_dev_register(&spi_dev, "spi1/spi10", 0, MR_SPI_CS_ACTIVE_LOW);
    /* Open SPI10 device on spi1 bus */
    int ds = mr_dev_open("spi1/spi10", MR_OFLAG_RDWR);
    /* Send data */
    uint8_t wr_buf[] = {0x01, 0x02, 0x03, 0x04};
    mr_dev_write(ds, wr_buf, sizeof(wr_buf));
    /* Receive data */
    uint8_t rd_buf[4] = {0};
    mr_dev_read(ds, rd_buf, sizeof(rd_buf));
    /* Close device */
    mr_dev_close(ds);
}
Configuration Tool
MR provides a Kconfig-based visual configuration tool so developers can configure options without delving into the source code.
Kconfig automatically generates a configuration menu from configuration files. Developers can select components and set parameters through the menu.
Getting Started
Configure Kconfig environment
Note: Kconfig is optional. Tutorials below use Kconfig as an example.
Verify that Python is installed by running python --version. Kconfig depends on Python; install it if necessary.
Install Kconfig-related packages:
python -m pip install windows-curses
python -m pip install kconfiglib
Run menuconfig -h to verify the installation.
Import the framework into your project
Clone or download the framework source code and place it in your local project directory.
Copy the source into your project folder. For example, for an STM32 project:
project directory
If your chosen chip already has BSP support, refer to the chip's BSP documentation to complete BSP configuration.
Remove unnecessary directories such as bsp, document, and module. If you are not using Git, you can also remove the .git directory. After cleanup, the directory structure should look like:
project directory (after cleanup)
Add files to the IDE
Most IDEs automatically detect project files under the project path and do not require manual addition. For Keil, for example:
project directory - Keil
Add all files under the source, device, and driver directories.
Configure menu options
Open a command line in the mr-library directory and run menuconfig to configure the menu.
project directory (mr-library)
Note: After adding the corresponding chip driver, Device configure and Driver configure entries will appear. For driver configuration, refer to the BSP documentation.
Select Device configure and enter the menu to configure features as needed.
menu configuration example
After configuration, press Q to exit and Y to save.
Generate configuration file
In the mr-library directory, run:
python kconfig.py
This will generate the configuration header
mr_config.h.
Add include paths
Add the mr-library include path to your compiler settings. For Keil, add the include path in project settings:
project directory - include paths example
Configure automatic initialization (GCC)
Locate the linker script file in your project (usually with a .ld suffix, e.g., link.ld). Add the following to enable mr-library automatic initialization. If your environment (for example, Keil) automatically generates linker scripts, skip this step.
/* mr-library auto init */
. = ALIGN(4);
_mr_auto_init_start = .;
KEEP(*(SORT(.auto_init*)))
_mr_auto_init_end = .;
Examples
LED Blink Example
#include "include/mr_lib.h"
/* Define LED pin (PC13) */
#define LED_PIN_NUMBER 45
int main(void)
{
    /* Automatic initialization */
    mr_auto_init();
    /* Open PIN device */
    int ds = mr_dev_open("pin", MR_OFLAG_RDWR);
    /* Set to LED pin */
    mr_dev_ioctl(ds, MR_CTL_PIN_SET_NUMBER, mr_make_local(int, LED_PIN_NUMBER));
    /* Set LED pin to push-pull output mode */
    mr_dev_ioctl(ds, MR_CTL_PIN_SET_MODE, mr_make_local(int, MR_PIN_MODE_OUTPUT));
    while(1)
    {
        /* Turn on LED */
        mr_dev_write(ds, mr_make_local(uint8_t, MR_PIN_HIGH_LEVEL), sizeof(uint8_t));
        mr_delay_ms(500);
        mr_dev_write(ds, mr_make_local(uint8_t, MR_PIN_LOW_LEVEL), sizeof(uint8_t));
        mr_delay_ms(500);
    }
}
Hello World
#include "include/mr_lib.h"
int main(void)
{
    /* Automatic initialization */
    mr_auto_init();
    /* Open Serial-1 device */
    int ds = mr_dev_open("serial1", MR_OFLAG_RDWR);
    /* Output Hello World */
    mr_dev_write(ds, "Hello World\n", sizeof("Hello World\n"));
    while(1);
}